To mint subnames from the Namespace platform, ENS Widget, or using our SDK,
you must first activate your ENS Name using the Wizard.
Names listed or activated on Ethereum mainnet cannot be migrated to Namechain (ENS v2).
If you plan to use Namechain, activate on a supported L2 instead.
How to Activate an ENS Name
1
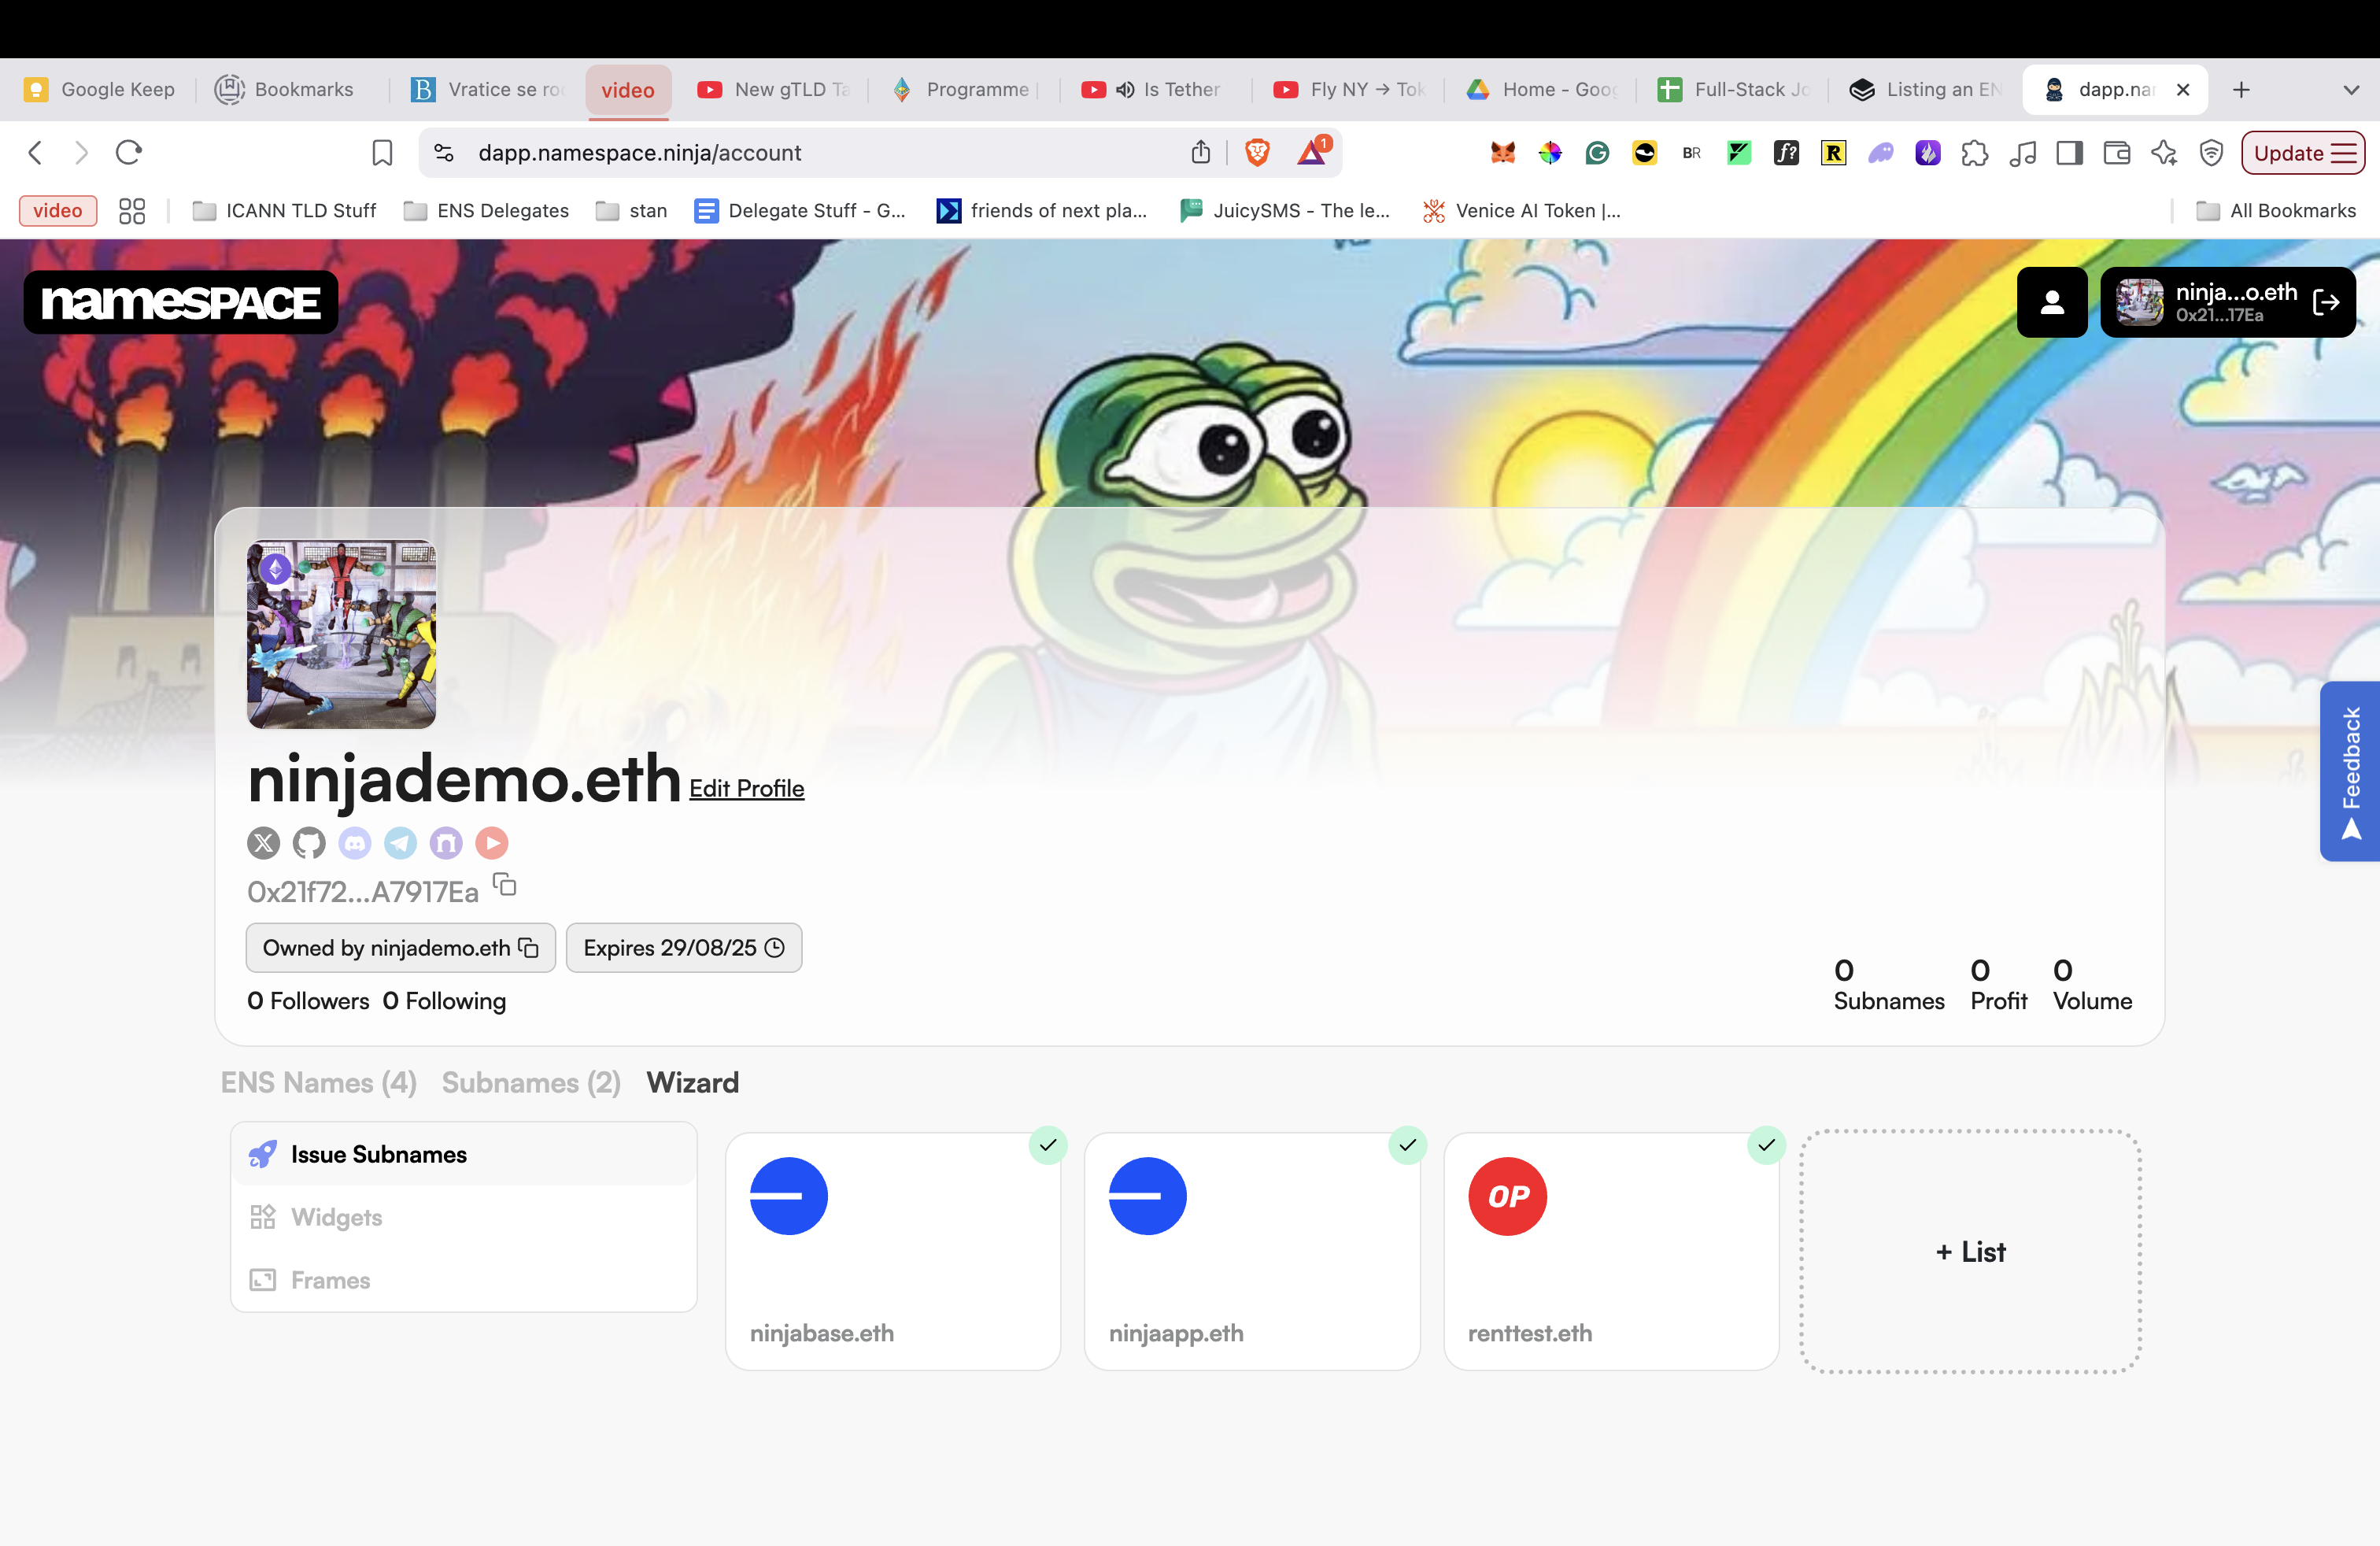
Open the app and start activation
- Visit app.namespace.ninja.
- Connect the wallet that owns the ENS name you want to activate.
- Click the “Account” icon in the navigation bar.
- Open the “Wizard” tab and click “List”.
2
Select your ENS name
Choose the ENS name to activate (for example, 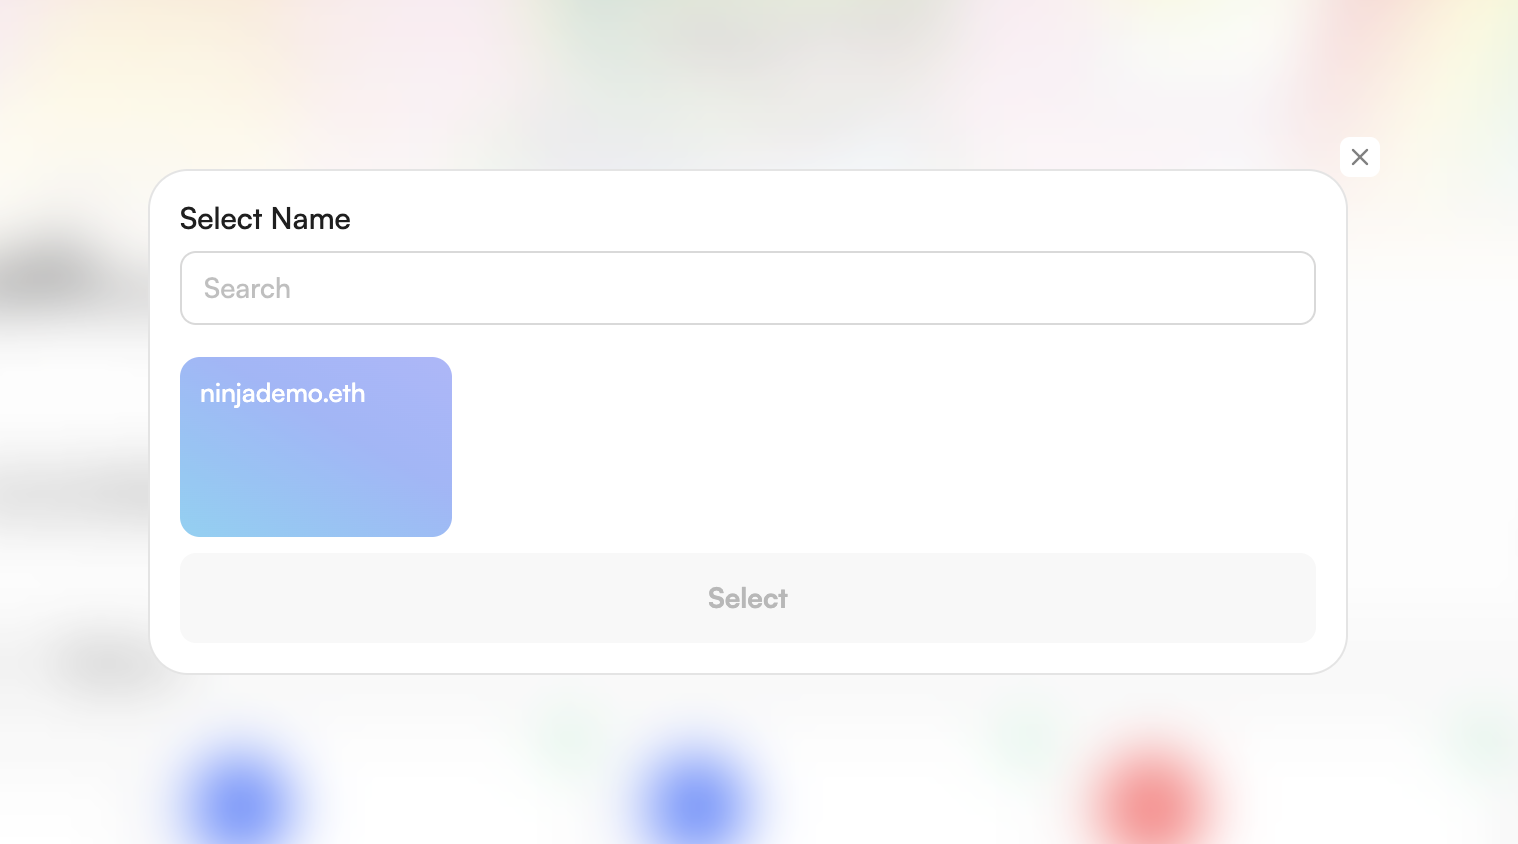
ninjademo.eth).3
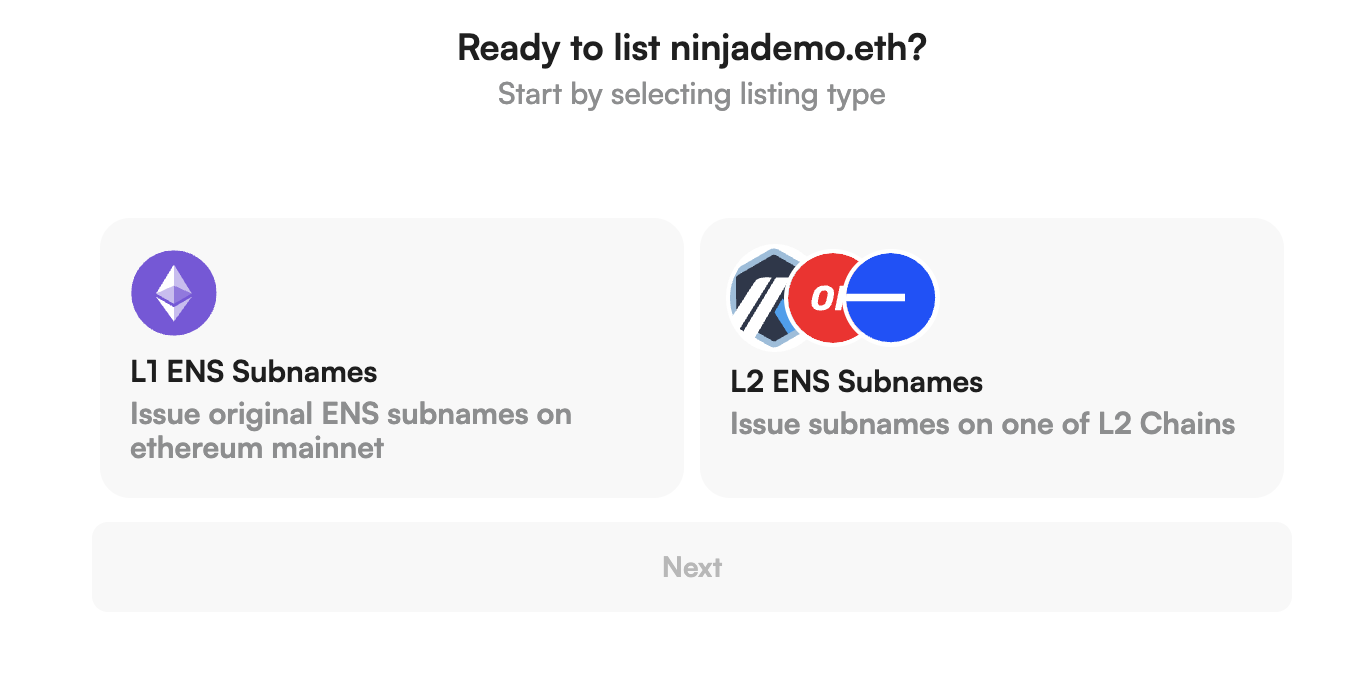
Choose activation option
- Ethereum: Issue subnames on Ethereum.
- L2s (Base, Optimism, etc.): Issue subnames on supported L2s.
4
Configure L2 collection
Select “Issue L2 Subnames”, then: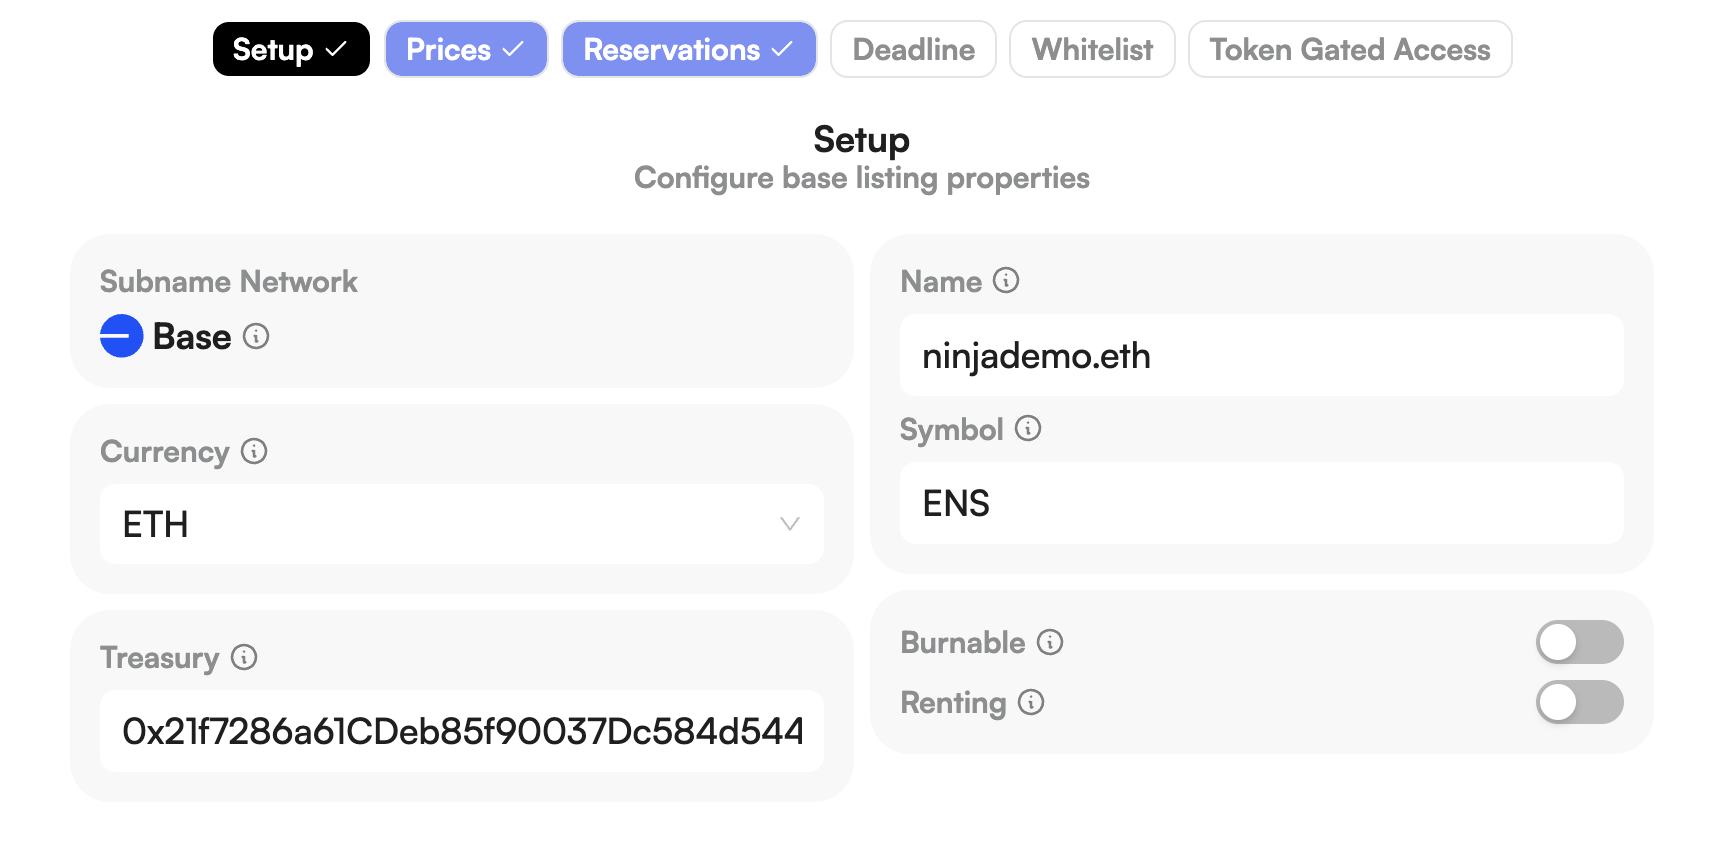
- Name your collection and set a symbol.
- Decide on burnability and rental options.
5
Set mint pricing
Define how subnames are priced:
- Base price
- Length-based pricing
- Special rules (numbers, letters, emoji)
6
Reserve or blacklist subnames (optional)
Protect key names or block unwanted ones.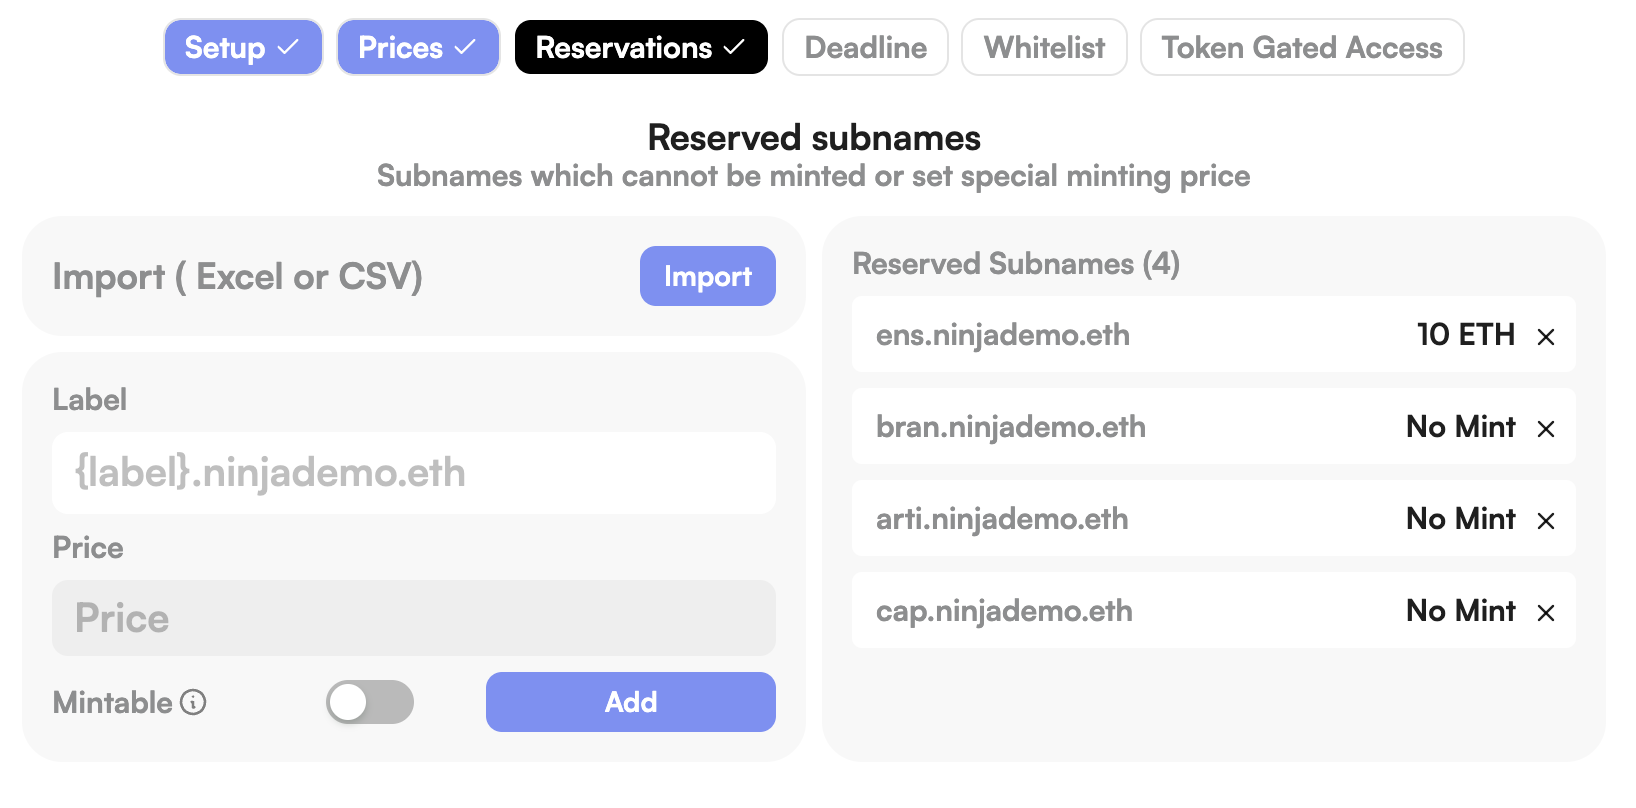
7
Set a minting deadline (optional)
Make the collection time-bound if desired.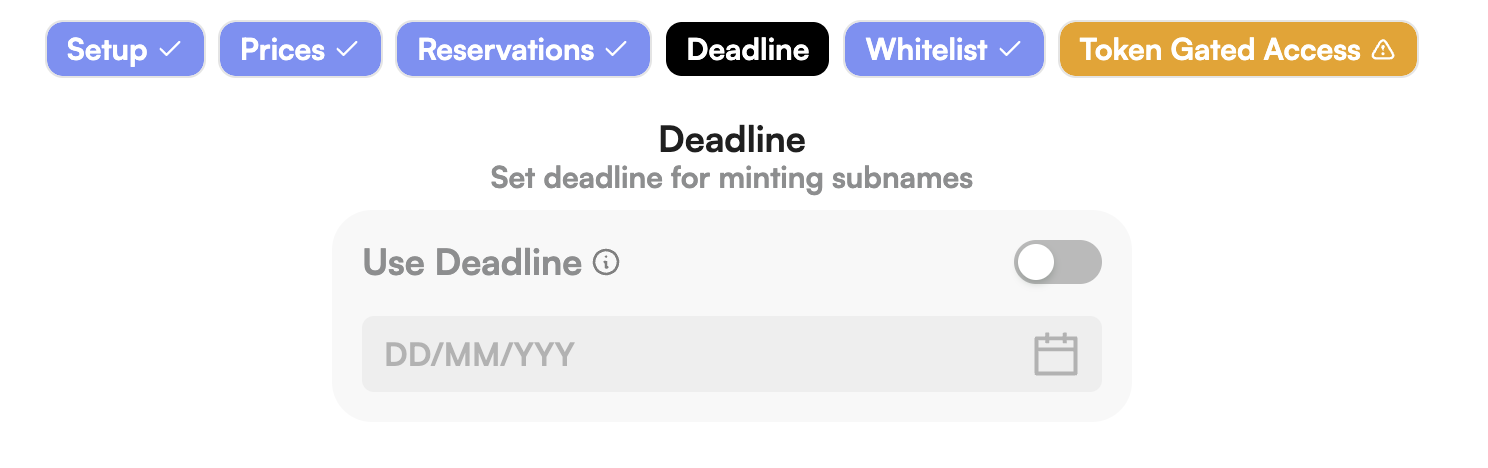
8
Configure allowlist options
Restrict minting to specific wallets or allow free mints for approved addresses.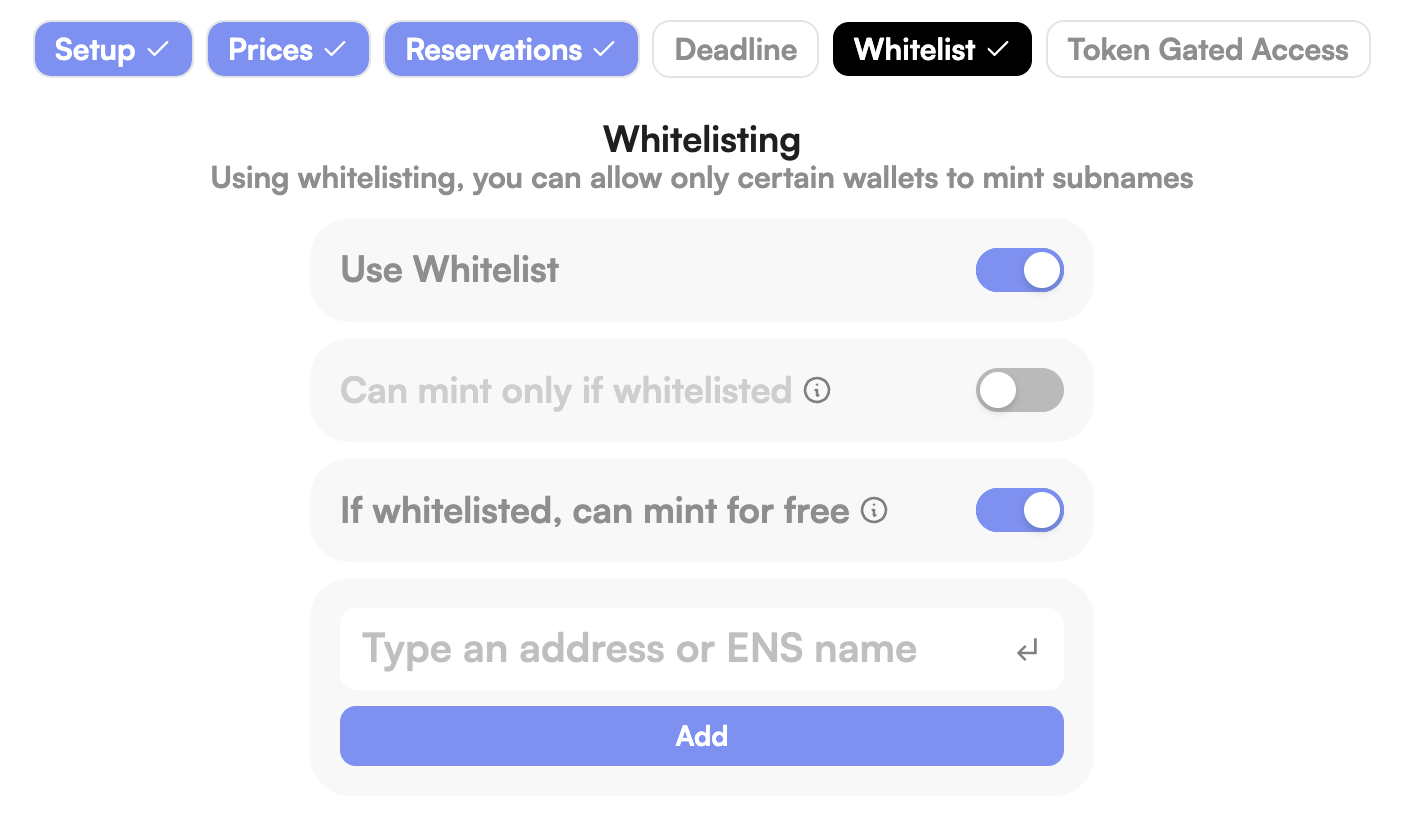
9
Enable token-gated minting (optional)
Require holders of an ERC-20 or ERC-721 token to mint.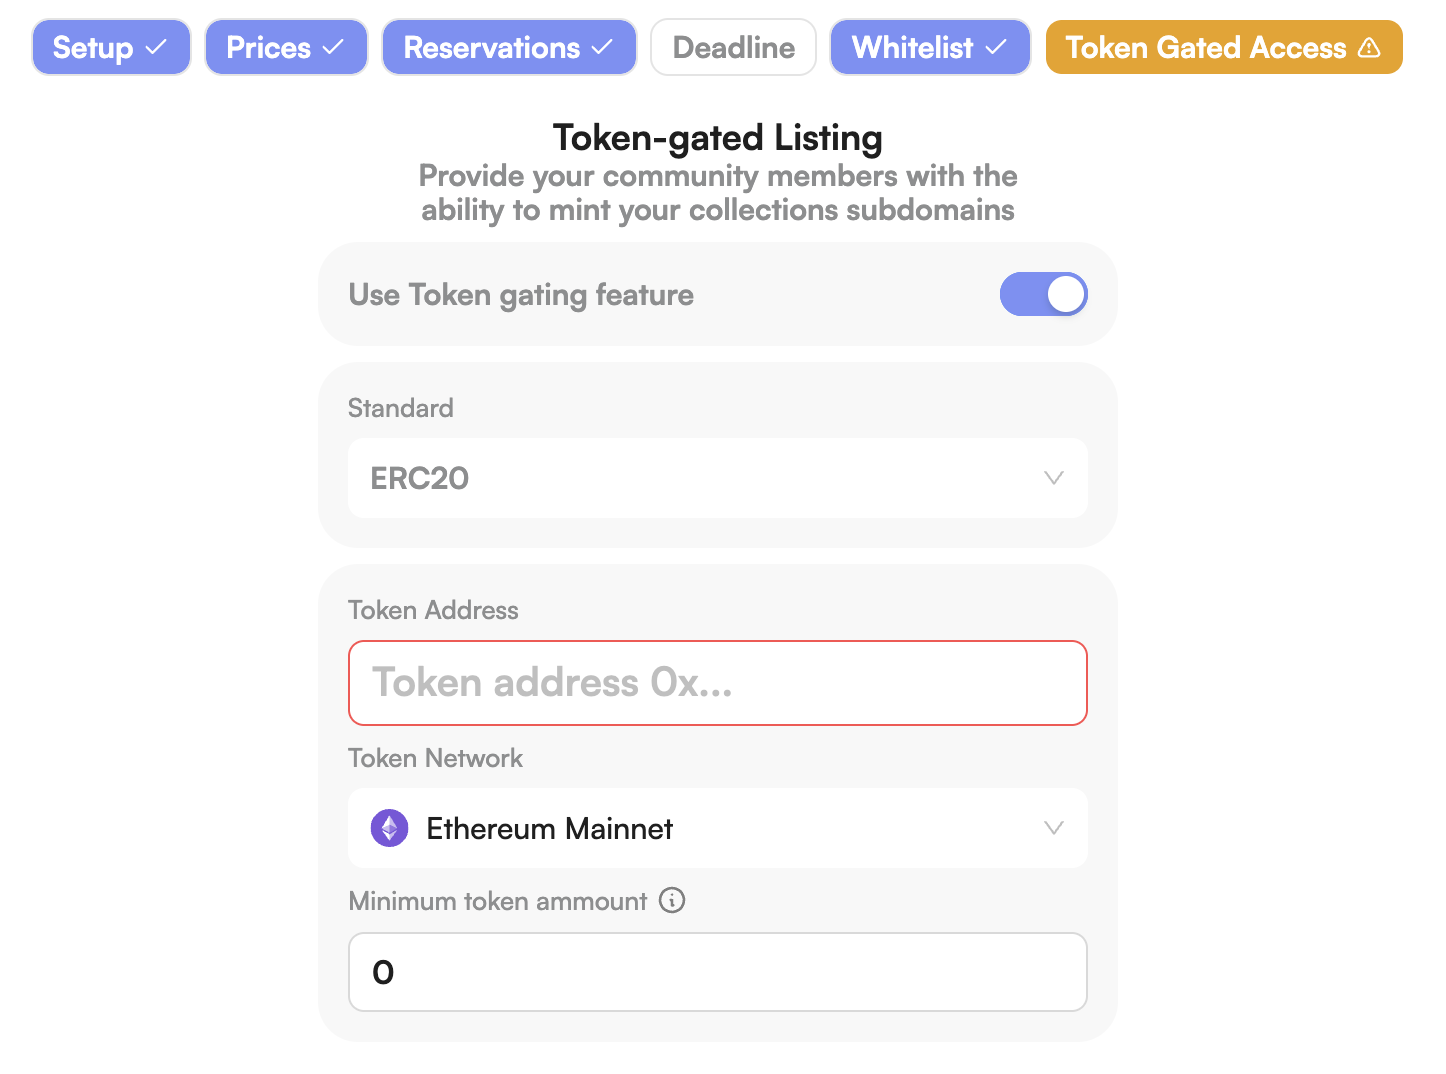
10
List your name
When setup is complete, click “List Name”.
11
Set the Namespace Hybrid Resolver
Set the resolver to Namespace Hybrid Resolver.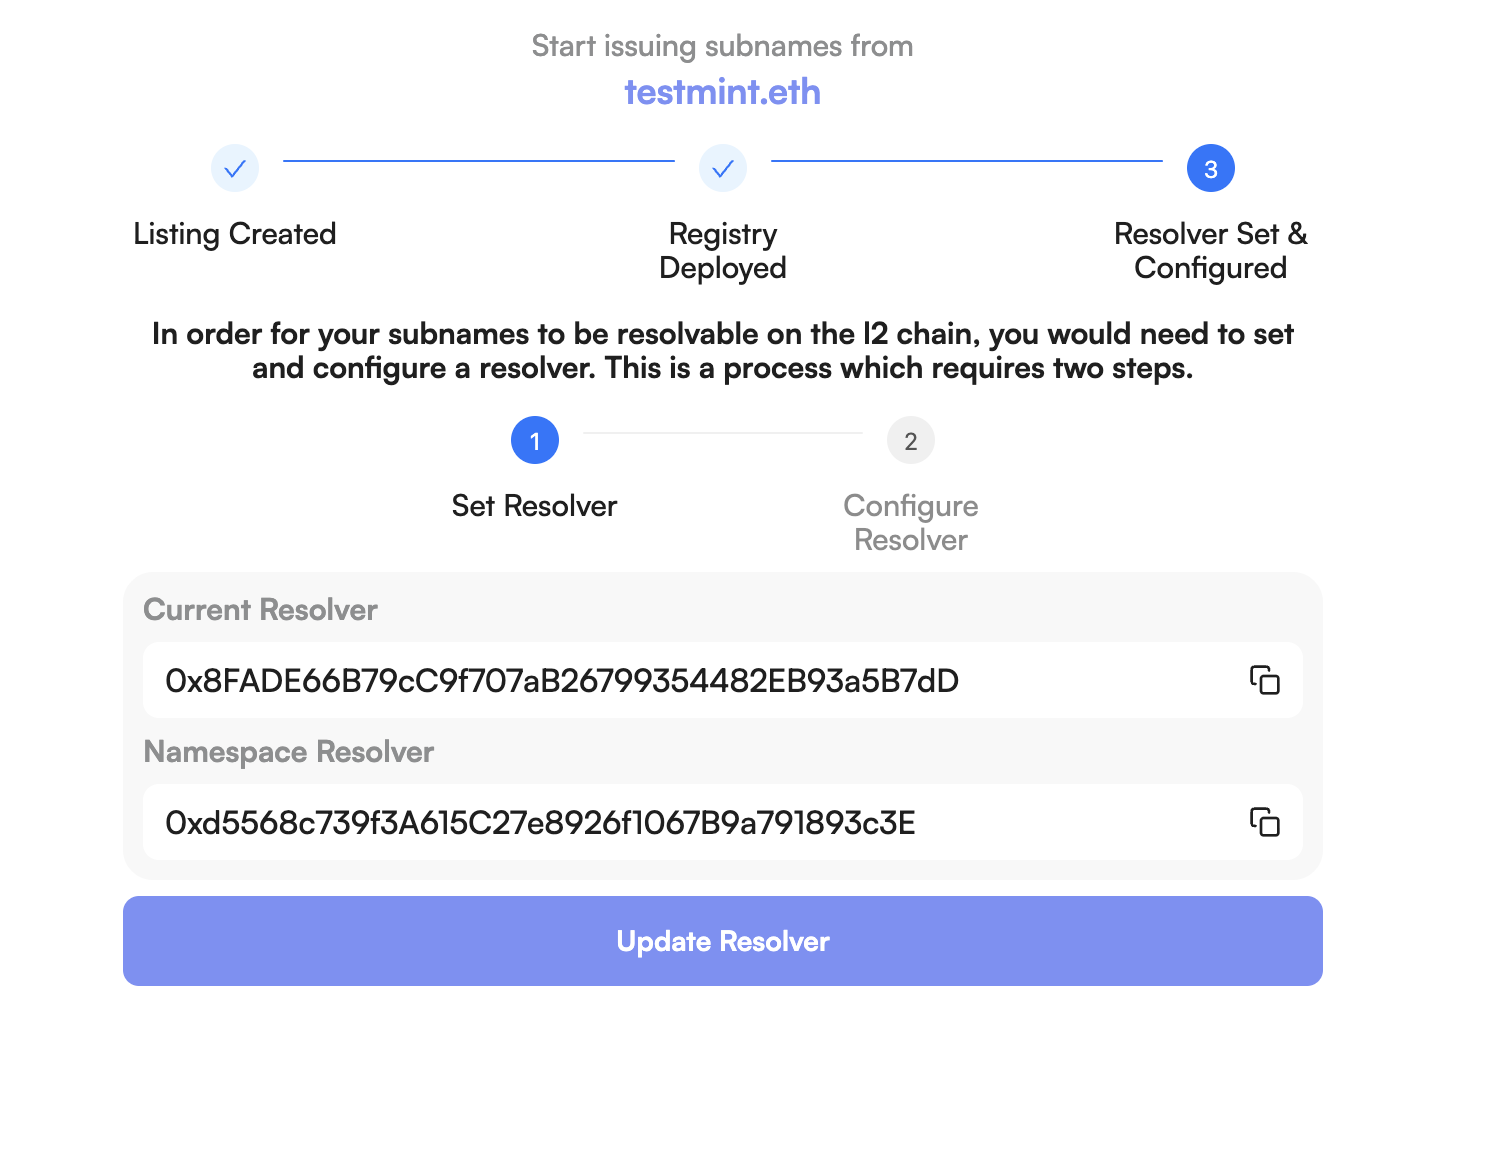
12
Configure resolver settings
Follow the prompts to complete resolver configuration.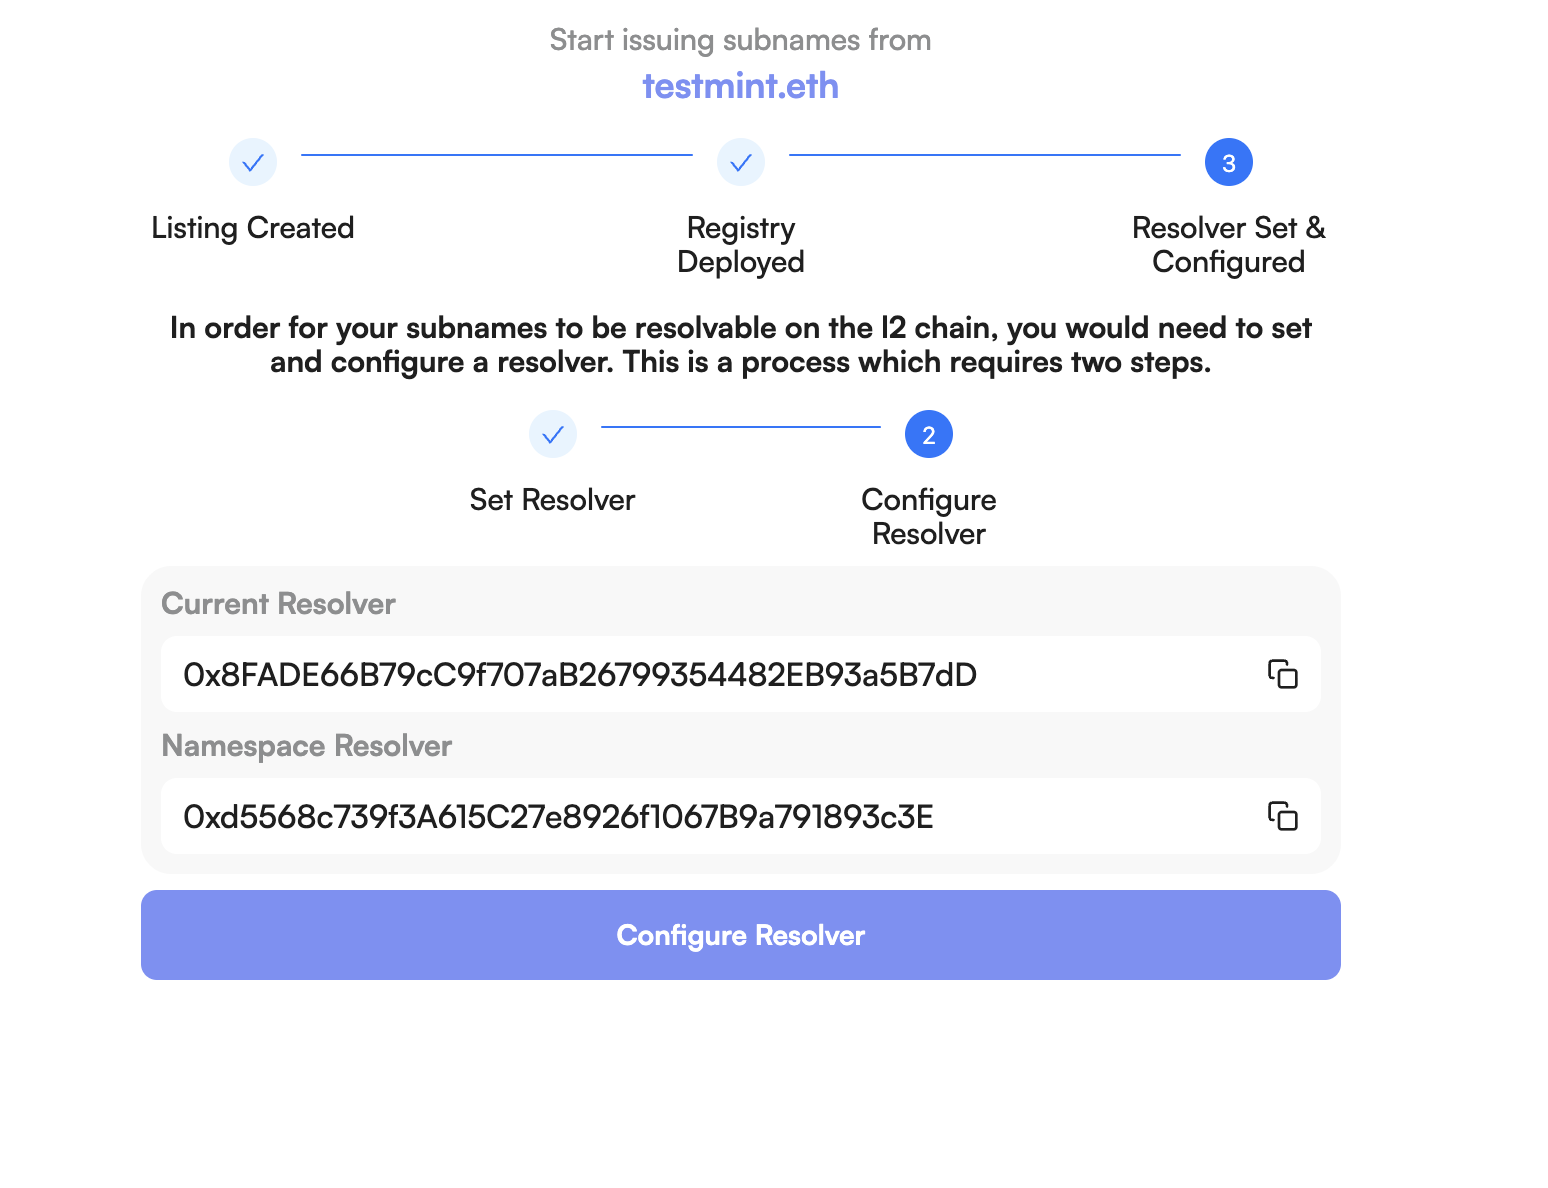
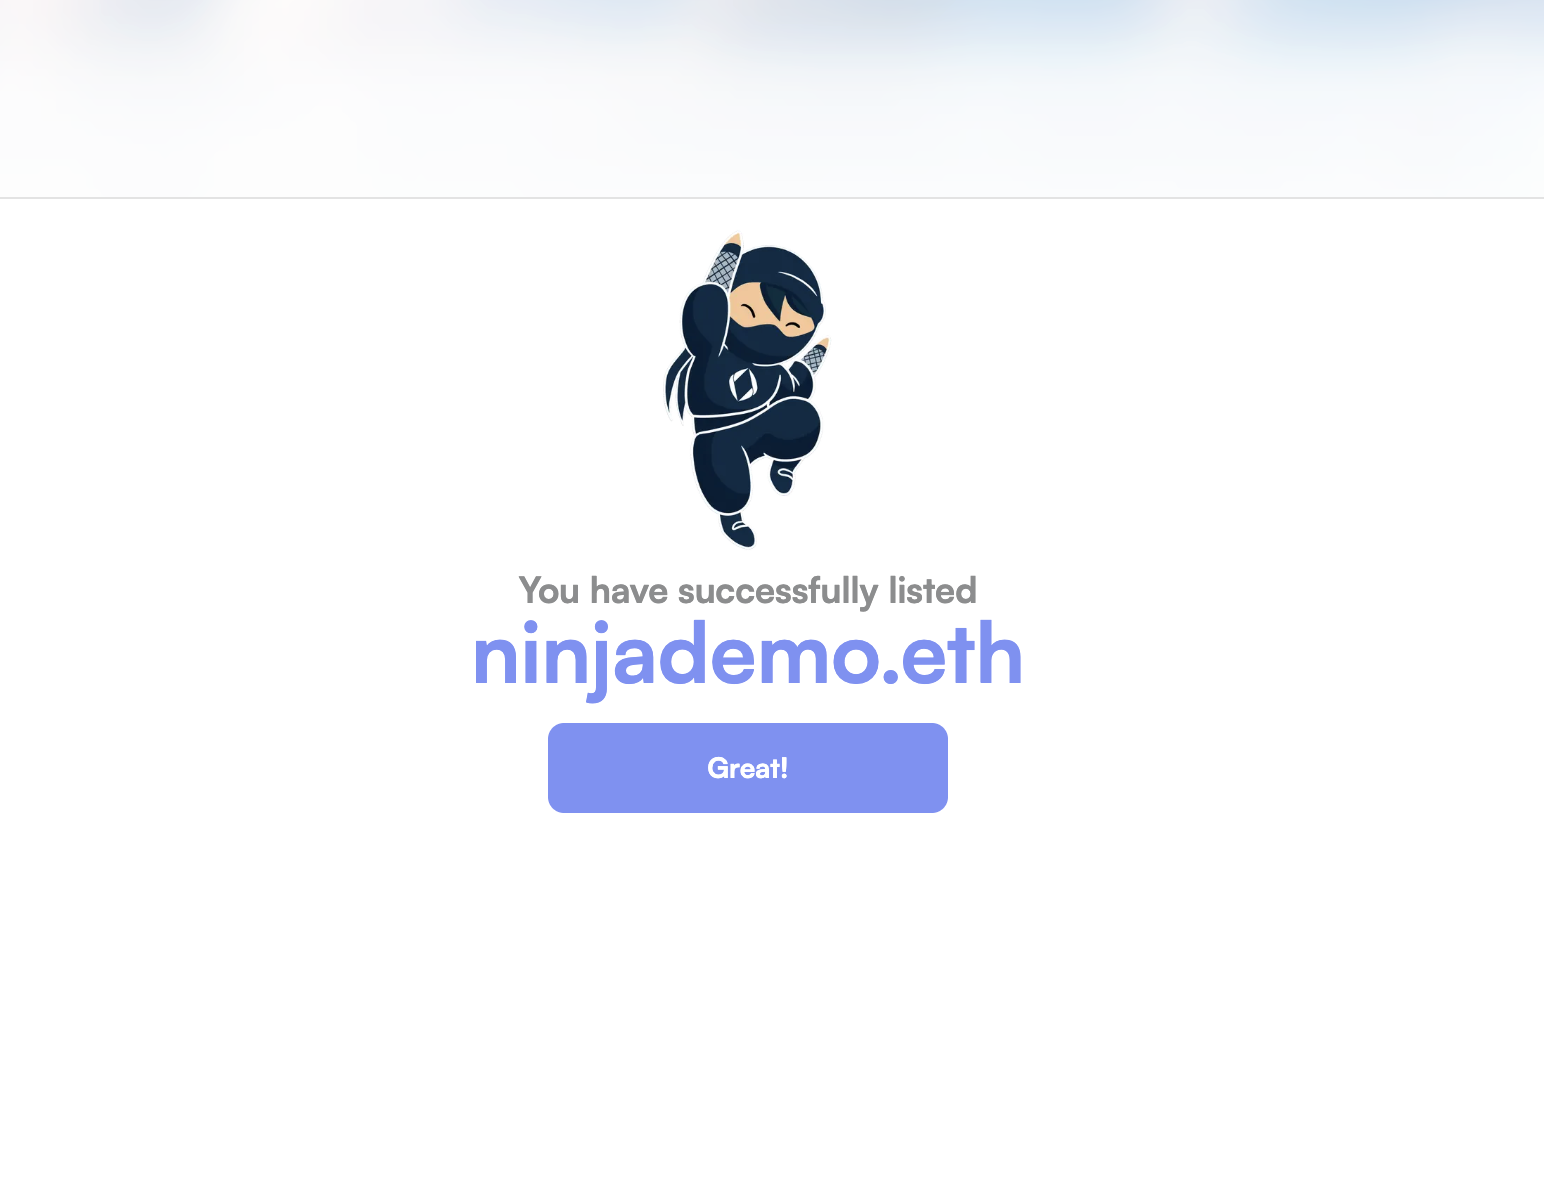
13
All set!
Congratulations — your ENS name is now activated.